Revolution to Evolution Pt. 3 — Working with Chocolate

Say hi to higher concentration with our brand new formulas, now 10x stronger than the original it's easier than ever to achieve to colour chocolate with a broader spectrum of delicious shades.
    Oil Blend Tips & Tricks
    Revolution to Evolution Pt. 3 — Working with Chocolate

    With the introduction of our new high-concentration formula let's go back to basics with some chocolatey chat on how to wield the new formulas when colouring chocolate.

    1. Neutralise, neutralise, neutralise

    When it comes to colouring chocolate it's important to put those yellow tones on ice! Add a dash of White Oil Blend to your melted chocolate before adding colour. It's the perfect recipe for a true hue!

    We suggest stirring in 2-5% of your mixture of White to cancel out those pesky yellow tones.

    The importance of neutralising your chocolate! Both coloured with Baby Blue, the left was neutralised while the right was not.
    Neutralising your chocolate will reflect the true colour of the pigment.

    2. A little goes a long way

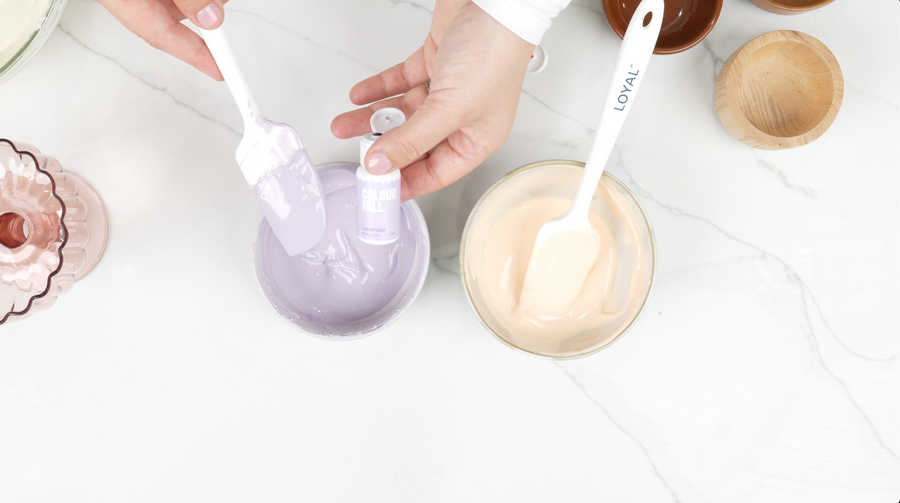
    When it comes to colouring chocolate, slow and steady wins the race. Adding colour too quickly can send your chocolate into a meltdown. And with our new high concentration formulas, this caution is key. So, take it easy – a few drops at a time will do the trick to hit that true label hue.

    Here's a few fool-proof ways you can avoid going overboard:

    Colour to Chocolate Ratio

    Nailing those pastel vibes is still as effortless as ever! We've whipped up a ratio for coloring chocolate to ensure your pastels and hues are picture-perfect:

    • Neutralising: 100g chocolate to 4g of White Oil Blend.
    • Colouring to Label: 100g chocolate to 4 drops of pigment.

    The Toothpick Method

    Insert a toothpick into the lid of your bottle so that the toothpick is saturated with pigment. Then, swipe the toothpick into your chocolate. Repeat this process as necessary until you reach your desired hue!

    Gone overboard? Don't worry!

    If you have gone overboard with your colour and it's darker than you'd like, don't stress! Just add a splash of White Oil Blend into your coloured chocolate to lighten it up.

    4. Surface work

    We know that a lot of you guys love using our pigments for surface work i.e painting the colour onto the surface of chocolate or a mould, dropping colour onto the surface of melted chocolate for dipping. Although our new high concentration colours appear darker straight from the bottle, it is still possible to create your magnificent marbling and delicate designs!

    Simply melt some chocolate, add in a dash of White Oil Blend to neutralise and mix in your pigment. Pop your coloured chocolate into a piping bag or onto a paint palette, and get ready to unleash your creativity! Whether you're piping into moulds or painting onto chocolate, dive in and decorate 'til your heart's content!

    Piping Lavender coloured chocolate on top of melted chocolate for surface work.
    Creating marbled cake pops using Oil Blend Lavender, Peach and Baby Blue.

    We are dedicated to ensuring this transition is as smooth as possible. If you have any questions or concerns, please reach out to our customer service team via the contact page or at hello@colourmill.com.au.

    How to colour chocolate with our new high concentration formulas.
    Written By Colour Mill
    Share